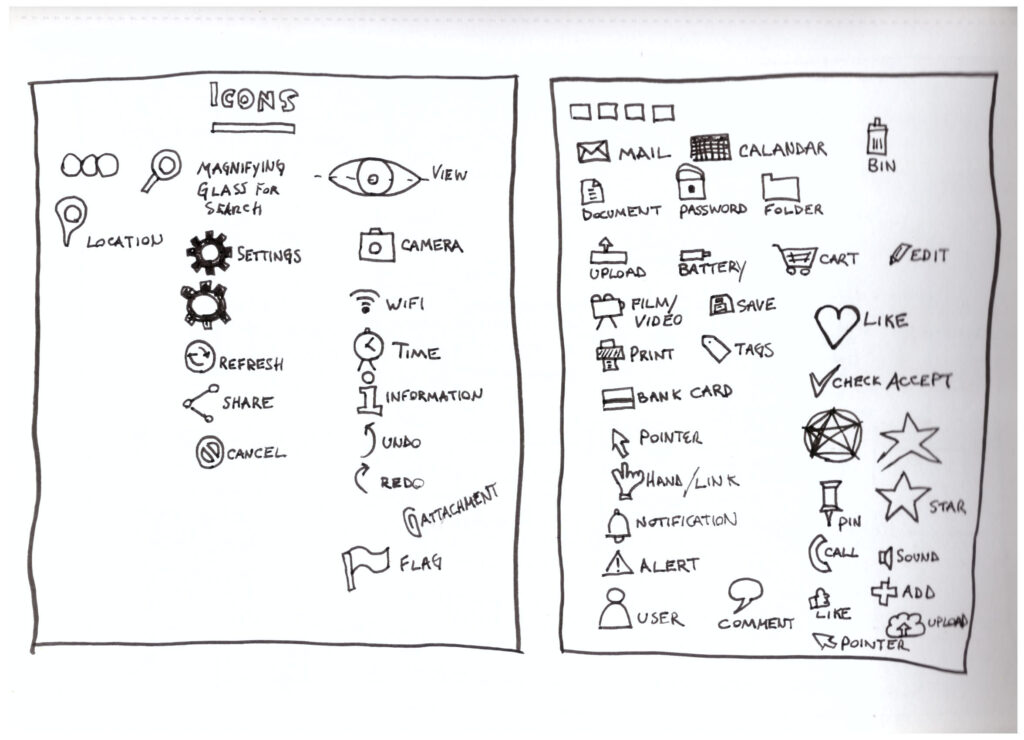
An idea for a new app feature usually sits in my mind for some time before I commit to actually building it. I’ll do some research, jot some notes, and maybe even write a script for how the user process will be, and then when I feel I’m ready to go from abstract idea to concrete concept I’ll pull out a pad and pen and sketch a user interface. I need this first step of concept to sketch to help confirm my idea is fleshed out all the way and also to stop myself from looping in my head over details that I’ve already established.
Paper sketching helps me to organize my thoughts.

Why I like sketching UI on paper
-
Allows me to capture the idea so I don’t keep looping over it in my head.
If I have a new feature in mind, and I’ve decided I’m going to build it, then it follows that I tend to get a little bit obsessive about it where I’ll keep mentally designing and redesigning it. Putting it down on paper frees up my mind for more important things like what I plan to eat for lunch.
-
Record the design so I can work on it in the future.
Our memory is subject to change over time and I tend to forget details quickly so I like to sketch designs as a fixed record of the mental image I was working with at a time in the past. Sometimes it’s not until years later that I get around to coding a feature and it’s nice to have a hard copy of what I was thinking to kick start myself back into that past mindset.
-
I enjoy it.
Sketching UI is something I’ll use as an excuse to have fun and relax with a feature instead of just getting stressed out with the anxiety that comes with knowing how much work any particular feature is going to be. I’ll take it a step further in terms of enjoyment by taking a sketch pad and a pen to a cafe where I can sketch lazily while sipping a coffee, beer, or wine while also idly watching the people as they go by. Sometimes I’ll wear a beret for extra dramatic effect.
-
Expose “gotchas”.
Sketching UI helps me get a sense of how much the idea in my head is actually well thought out. Sometimes I think I have a feature ready to code and it’s in sketching it to paper that I find it’s actually half-baked. Seeing it on paper helps to surface things that need addressing by showing if the car I’m trying to build is missing a fender or has square tires.
-
Helps me focus on coding.
In later stages when I’m coding I turn off the design part of my mind with the confidence that the design is already well thought out. Sketching UI allows me to sit down and really think through what I’m intending to build from a high level design standpoint. It’s a mental exercise that allows me to focus exclusively on design considerations and the benefit is that in later stages I can then change my focus to things other than design. I feel doing it this way is easier and results in a better UI than when I’m trying to code and design at the same time.
-
It’s an easy way to start building momentum.
The barrier to getting started with a pen and pencil sketch is really low. I tend to get slighly overwhelmed at the start of a new feature because I know it’s going to take a tremendous amount of work to make it come to life. I’m a believer that a good strategy for overcoming the tension of getting started is to begin with something small and sketching feels like an easy first step take to take.
-
Communicates my ideas with other people.
Sharing the concept of a design with other collaborators is usually the number one reason for doing design sketches, but for me it’s less important since I’m often a team of one. This is something that may change over time and I like that I can easily share my abstract idea with just a drawing of how the UI looks.
What I sketch
Scope
Most of the time I’m sketching a single discrete component or subsystem within the app. As I sketch I might add additional drawings that either expand or zoom in on a particular aspect of a component. So for instance if I’m sketching a form, I might decide to also add additional sketches for a text input or an autocomplete control if I think that those pieces have a lot of details that need to be explicitly recorded. If I sketch out a whole page I’m usually doing it for the purposes of layout and usually whole pages don’t have a lot of detail in a sketch.
Viewports
Imagine you’re sketching a UI for an app that has a list of movies. How many sketches should you do? The naive answer is one, sketch the list and be done with it. My answer is to start with four:
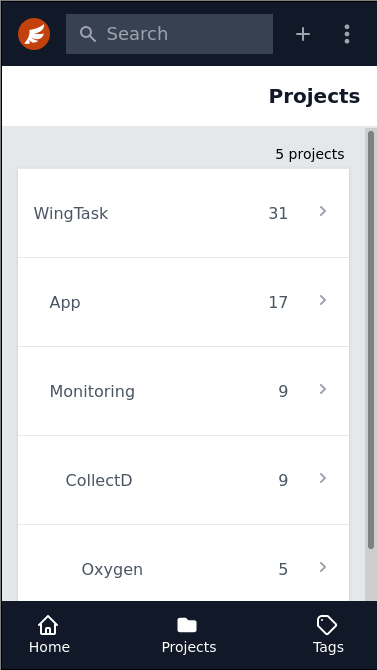
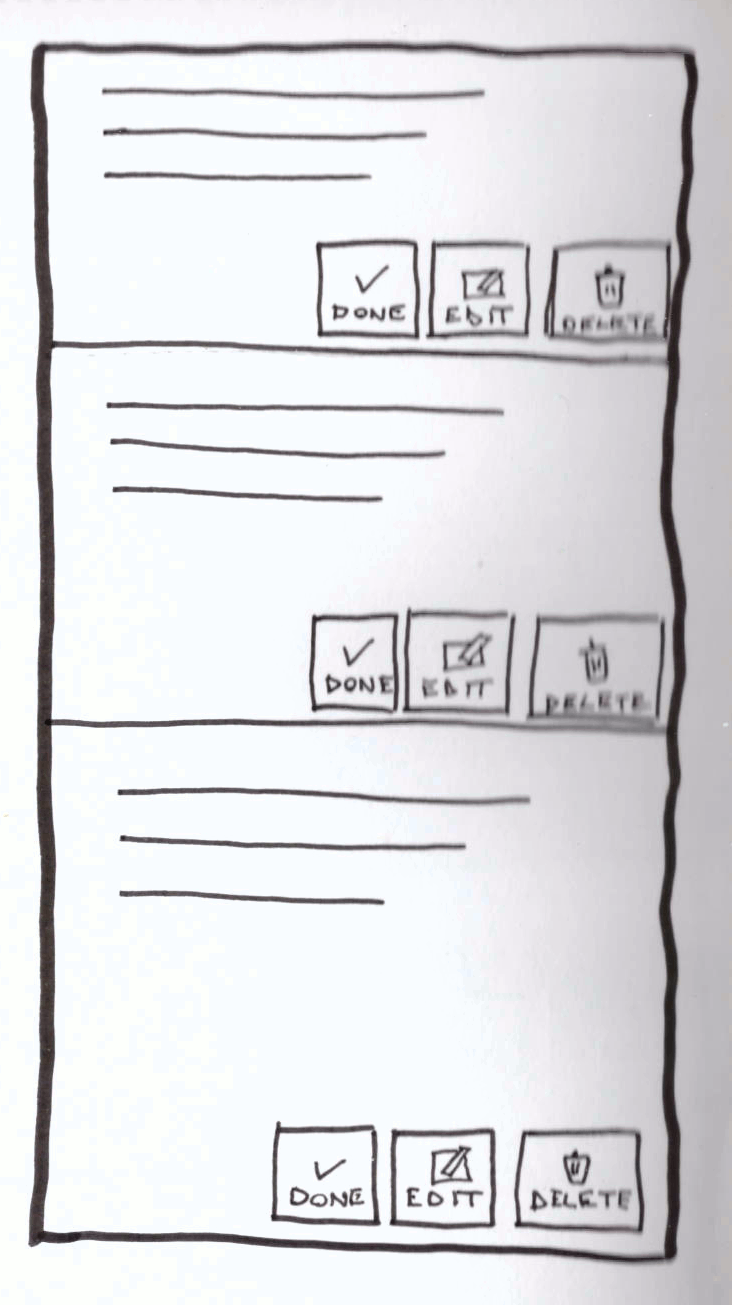
- Mobile viewport in the normal state.
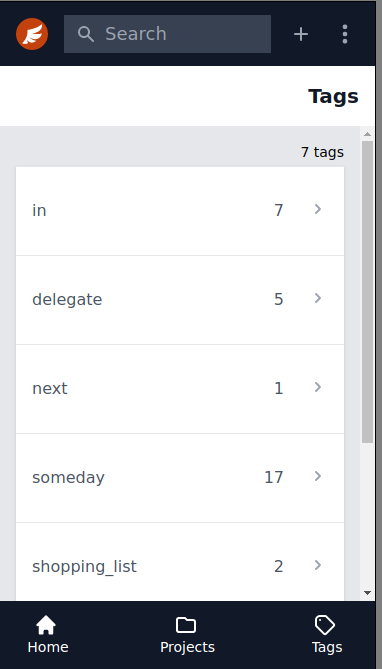
- Mobile viewport in the blank slate state.
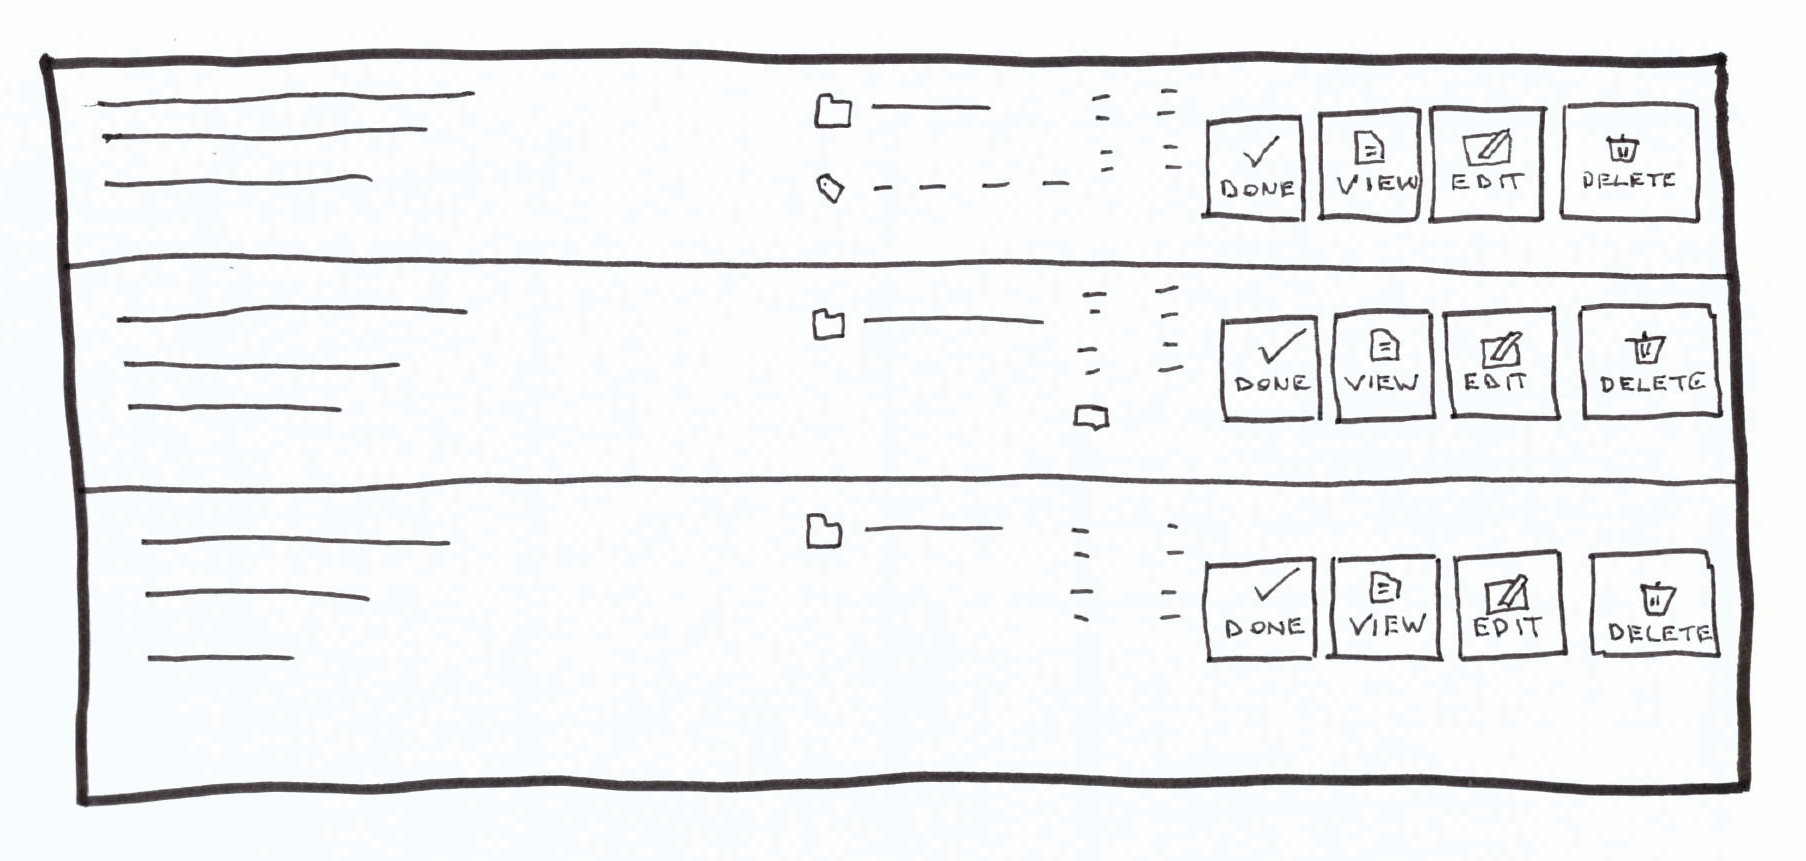
- Desktop viewport in the normal state.
- Desktop viewport in the blank slate state.
4 possible viewports for sketching
- Mobile - required
- Desktop - required
- Tablet portrait - optional
- Tablet landscape - optional
Every UI will get sketched multiple times for different variants of both viewport sizes and states. Sketching for viewport size means designing UI for different devices such as mobile, phone, tablet, or desktop. I’ve found over time that only two viewports are really needed, mobile and desktop. , Designing for mobile and desktop will handle most of the UI size considerations. Designing for an iphone, or what I call the mobile view, will probably also handle the design for an ipad in portrait layout, likewise designing for a desktop view will probably handle an ipad in landscape layout. If later in the design process I think tablet might look different than desktop or mobile than I’ll do a dedicated sketch for it.
Mobile UI is meant to represent the UI being accessed on an average smart phone using IOS or Android. It is the most limiting viewport in terms of available real estate and so it’s best to start mobile first which means cutting the feature down to the minimum necessary and then developing it in a layout that stacks vertically. Sometimes the mobile UI will have elements not present on the Desktop UI such as converting a row of buttons to a dropdown menu, and the difference is usually to account for the smaller real estate. Mobile UI might also need more sketches because a complex UI interaction might mean navigating to another page while on desktop that UI might be present on the same page.
After mobile UI, I’ll switch to the desktop viewport which assumes that I have a much larger amount of horizontal space to work with. Developing the desktop UI in contrast to the mobile UI means going beyond just the bare minimum and instead imagining what the best possible version of this feature might look like when limited real estate is not an issue. The desktop viewport will almost always have more elements than the mobile UI.
States
User interfaces have different states representing some different phase of where the user is in their process of doing some activity. I like to sketch out all of these states because each one tends to require some important design decision.
-
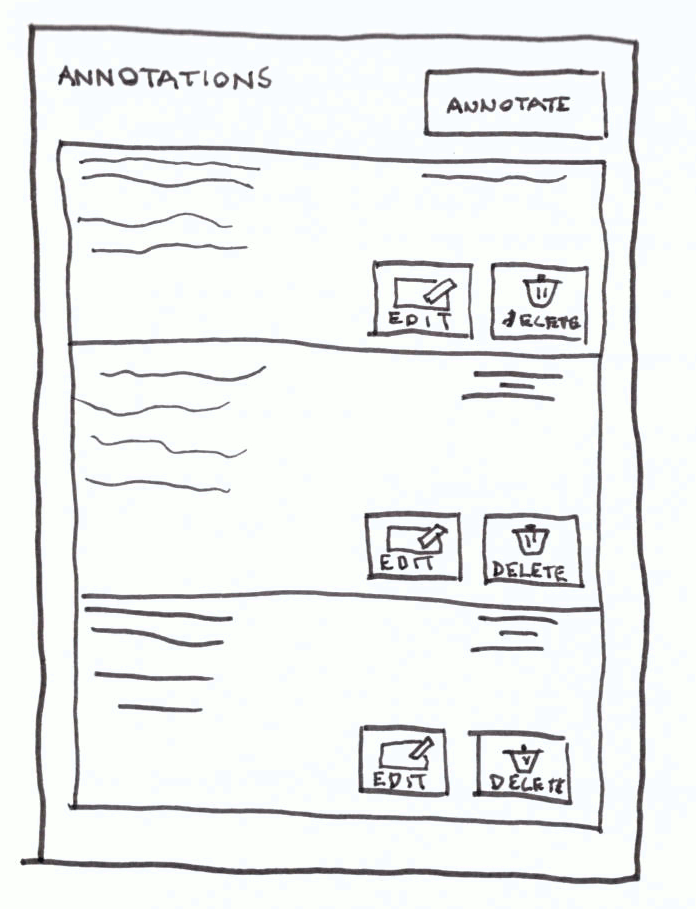
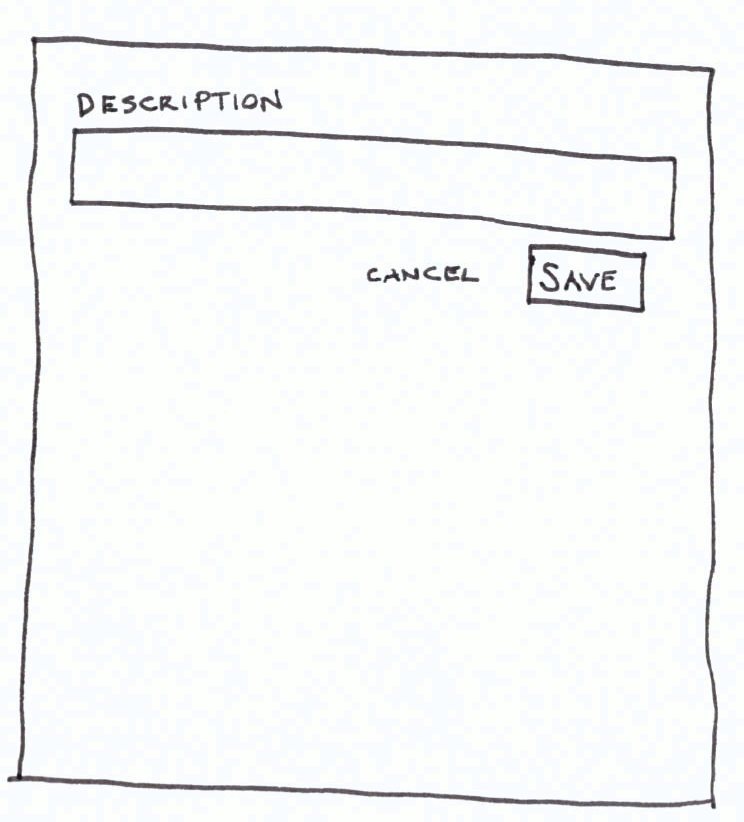
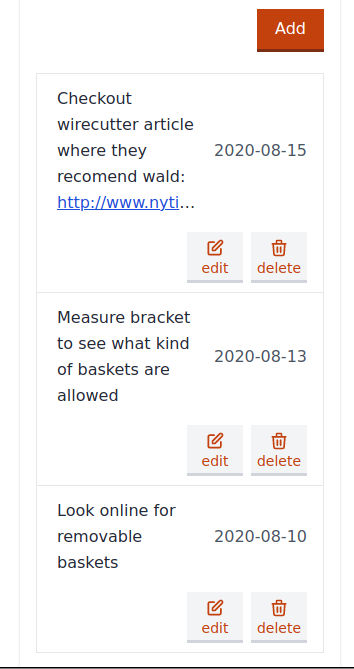
Normal
A user visits the forgot password page of an app and sees a form where they can enter their email address, the form at this stage is in the “normal” state.
Normal state refers to the “golden path” of how the UI looks when it’s in it’s most typical state. If it’s a UI for a list then the list has list items populated, if it’s a form for editing an already existing piece of data then the form displays it’s input fields with data populated.
-
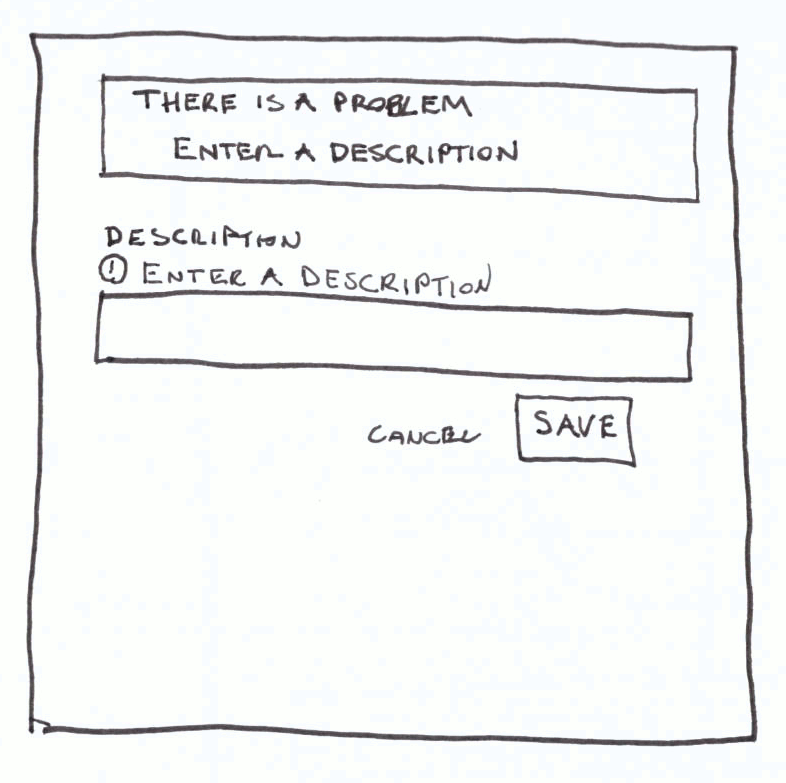
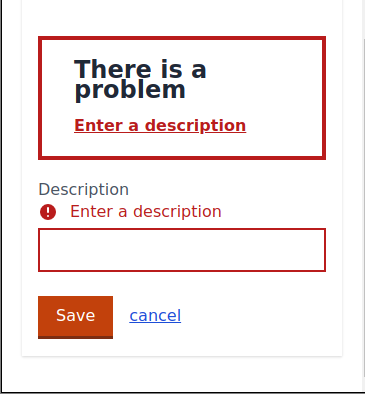
Error
They type in their email address but forget to type the ‘@’ sign and after clicking submit they see an error message: “Enter an email address in the format user@example.com”, this is the “error” state.
Error state happens after a user has initiated an action that can’t be completed. The error state UI is about communicating the error to the user about why the action they were trying to perform can’t be completed and what they can do to recover from the error.
-
Loading / Submitting
After correcting the email address they click submit and a progress spinner appears, this is the “loading / submitting” state.
Loading / Submitting state is about communicating to the user that an action is in progress by showing an animated spinner or progress bar.
-
Success
After the request completes, the form is substituted with a green banner message letting them know a forgot password email was sent, this is the “success” state.
Success state is letting the user know the action they performed completed successfully, success UI tends to be used less than the other states because a lot of success state is implied by navigating the user to a different part of the app. For instance, navigating from a submitted form to a detail view with an “Action completed successfully” type message. I don’t do a success sketch for implied success flows that don’t require a dedicated success view.
-
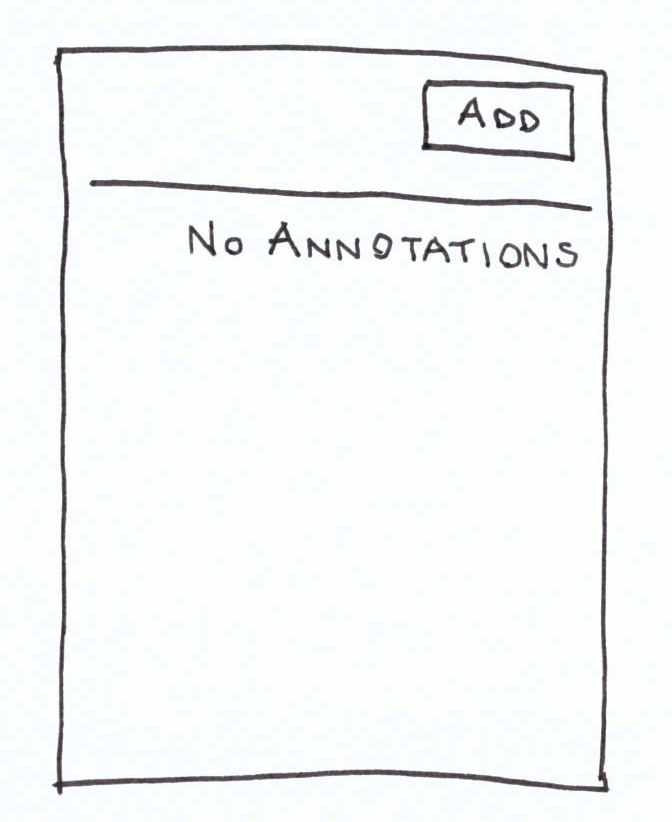
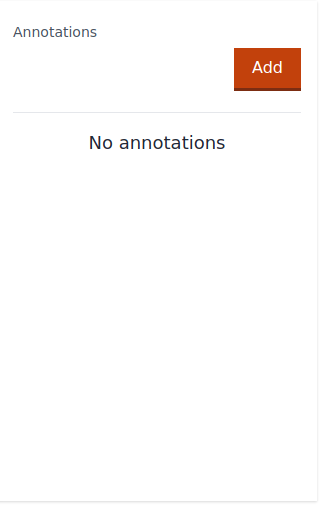
Blank Slate
Finally, after clicking the link in their forgot password email they are automatically logged into the app where a list of movies the user rated are displayed but because the user has not yet rated any movies there is a message and a link stating “You have not yet rated any movies, click to rate your first movie”, this is the “blank slate” state.
Blank slate state is for how the UI looks when there is no data to be shown. Generally this is explaining nothing yet exists and to offer a way to create some data.

When I sketch
Sketching is usually for new features and happens after I’ve decided to build that new feature. Sometimes I will do some research first to get some ideas about how this particular feature is handled elsewhere, and sometimes it’s pretty obvious how to do the feature. I’ll still go ahead and sketch the design for what I’m doing because often the design changes. For existing features that already exist in WingTask that I’m planning to modify I usually won’t do a sketch unless the change is going to be a drastic rewrite.
Sketching course that taught me what I know
I started sketching when I was in the initial stages of building the first version of WingTask. I didn’t have any experience with drawing and I wasn’t sure if I was going to be capable of drawing anything since I didn’t consider myself very capable with the pen. While trying to figure out if paper sketching was going to be something I would even try I came across a course on Udemy called “Sketching for UX Designers”. In completing this course I gained a basic competence in sketching and that gave me confidence that not only was sketching going to be something I was capable of but that I wanted to make sketching a part of my UI building process. The course is 4.5 hours, and I did it within a week in half hour increments. I had a sketchbook and pens and I would sketch along with the instructor as recommended by the course.

Tools and materials
I recommend getting a set of artist pens and a nice sketch pad. Having pens in different sizes is nice and I use about 3 sizes:
Artist / Drawing Pens
- A brush pen for drawing the borders of a viewport.
- A main pen that I do most of my sketching with, probably between 0.5mm and 0.8 mm.
- A small detail pen for doing fine strokes, less than 0.5mm.
Sketch Pad
You’ll want something that gives you a feeling of satisfaction and importance so that the feel of the pen on the paper is enjoyable. The binding and cover also go into giving a sense that the sketches you make will be protected and are important.
Faber-Castell 4 PITT artist pens black
This 4 pens set includes a brush pen which I use for drawing the borders of a viewport.

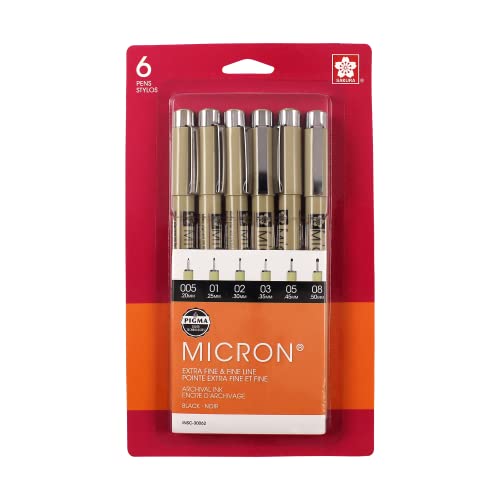
Sakura Pigma Micron 6 pen set black
I bought these pens later on after I got started with the Faber-Castell set and I now do the majority of my drawing with them as like the feel of the pens a little bit more.
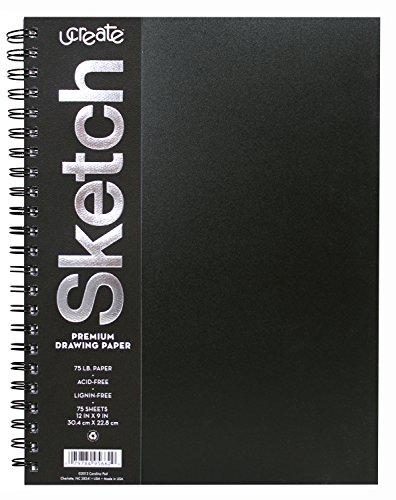
UCreate Poly Cover Sketch Book, 12 inches by 9 inches, 75 lb. premium drawing paper
Premium drawing paper in this sketch book felt luxurious, the pages are heavy almost card like and the paper has a texture that makes it pick up the ink quite easily. I ended up liking this particular sketch book so much that I bought a spare just in case this one becomes unavailable.
This is second in a series of articles describing how I build user interfaces for WingTask, others in this series are:
How I Build User Interfaces For WingTask (previous)
Storybook is an Essential Tool (next)